
Traditionally, Webflow could be broken down into two experiences – the Designer and the Editor. The Designer is a tool used to develop the website from the ground up, including advanced page building and CMS structure. While the Editor was a much more minimalistic experience designed for those that only needed to modify content. Since 2024, Webflow has undergone a lot of updates and changes to their core experience, with a keystone change being the addition of page slots and component slots – effectively unlocking the power of page building to some extent. At HTML All The Things we’ve begun adopting features like slots to help make page updates quicker and easier.
What is a page slot in Webflow?
Page slots are placeholder elements that give Build Mode users the ability to add and remove Components from a page. Users with Designer access can place page slots within a page, or page template, wherever they want Build Mode users to have some freedom on what is placed there. Page slots are one of the key ingredients to unlock page building within Webflow.
As of writing, only users with the Marketer role have access to Build Mode (with the exception of those with Designer access).
Why should you use a page slot?
Page slots in Webflow should be used wherever you’d like your site editors (with access to Build Mode) to have control over what is displayed on the page. They’ll be given the ability to add/remove Components from the page as they see fit.
Page slots are a cornerstone feature of page building as they’re the only way that those without Designer access can add and remove parts of a page in Webflow. Normally, site editors only have access to edit content such as modifying text, uploading images, and changing CMS items.
What is a component slot in Webflow?
Similar to page slots, Component slots are placeholder elements that give users the ability to add and remove Components within a Component. Components are reusable elements that can be modified by changing properties, or by using a Component slot. Unlike page slots, component slots can only be used by those with access to the Designer – although there is a wishlist item to have this functionality added to Build Mode, so this may change in the future.
Why should you use a component slot?
Component slots in Webflow should be used when you want users with Designer access to be able to quickly and easily add and remove elements from a Component. Before Component slots, components were very rigid in their design, offering little in the form of freedom for how they were laid out
How to setup a Webflow page slot
Setting up a page slot in Webflow requires that you have Designer access and that you have at least one Component created in your project.
Step 1 – Add the page slot element to your page
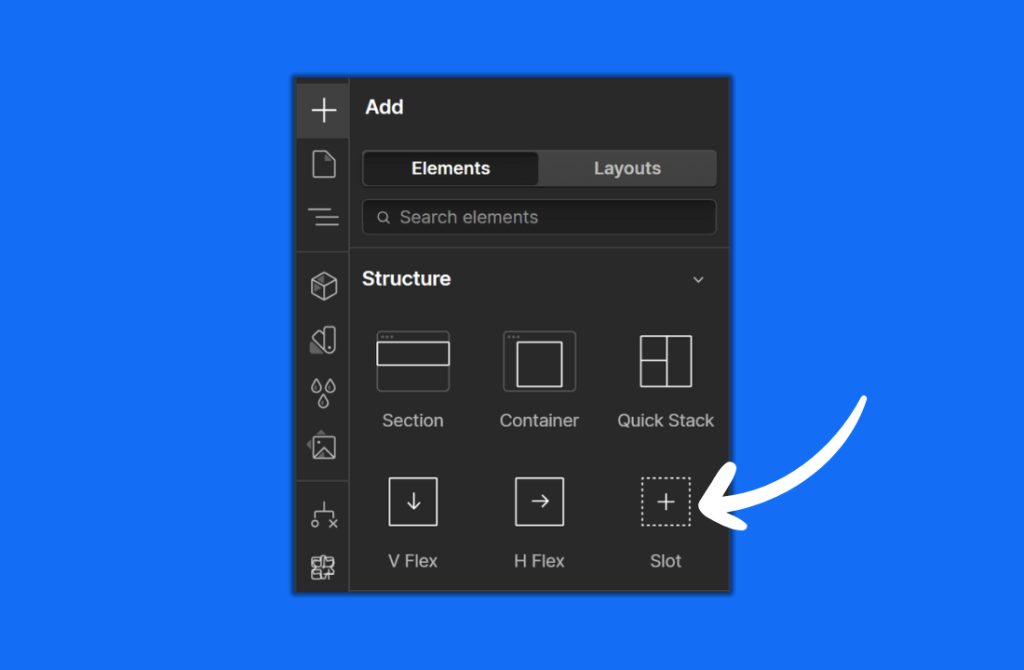
From the Add Elements menu, find the Page Slot element under the Structure section.
Click and drag the Page Slot onto the page. Once on the page, the slot should look like the photo below.

Step 2 – Fill the page slot with content
Note: Page slots can only be filled with Webflow Components. If you don’t have any made yet, you’ll need to create those first before you can fill a Page Slot with content.

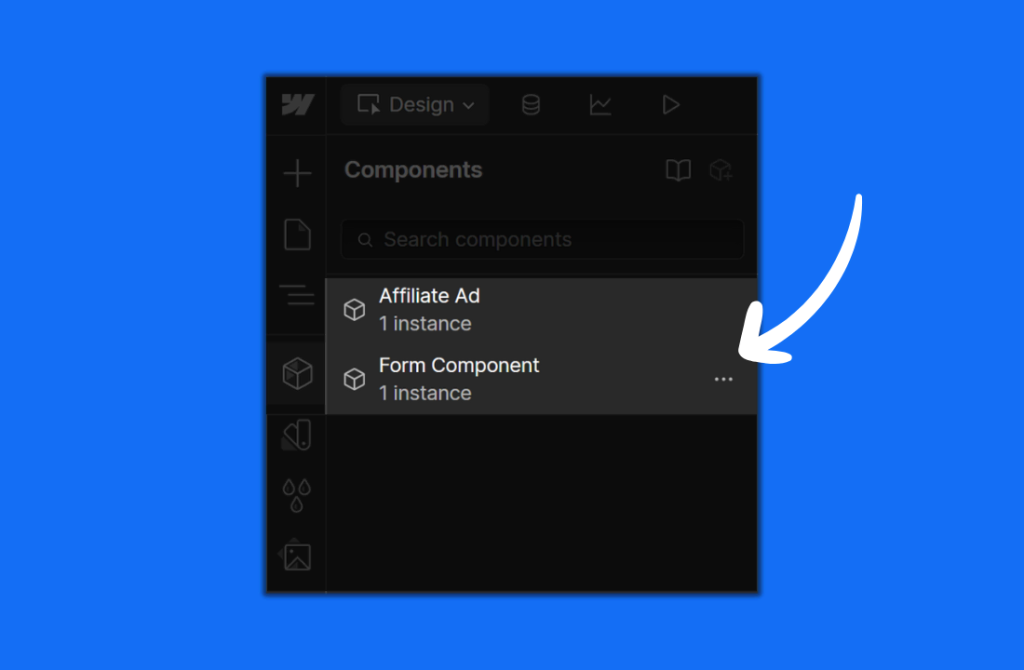
You should see a list of Components that you can scroll or search through as needed. In our example, we have an Affiliate Ad Component and a Form Component.
Click and drag your component into your Page Slot.
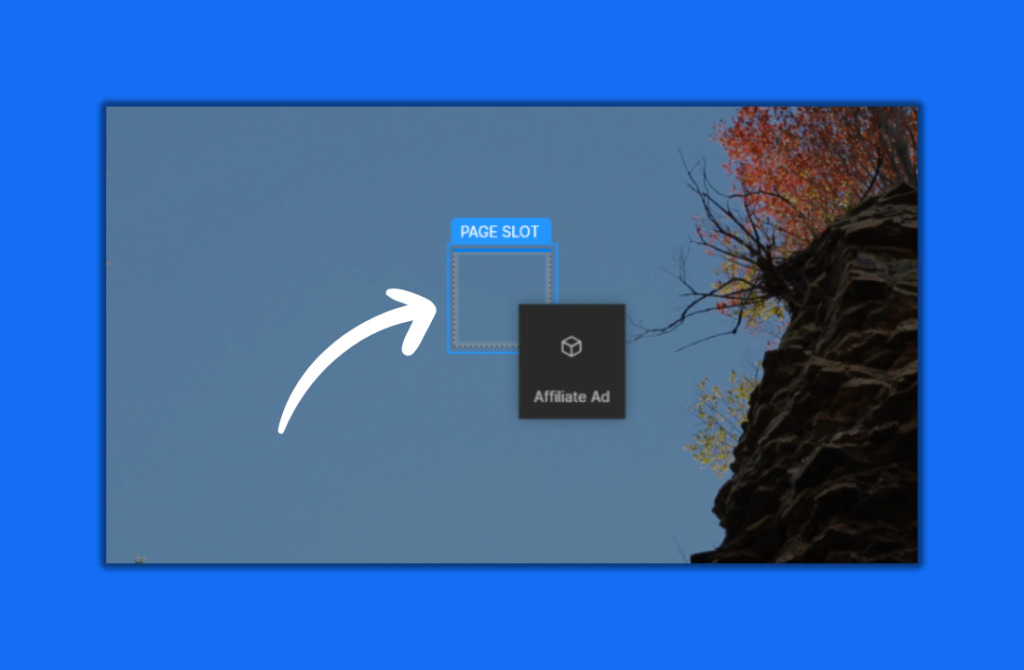
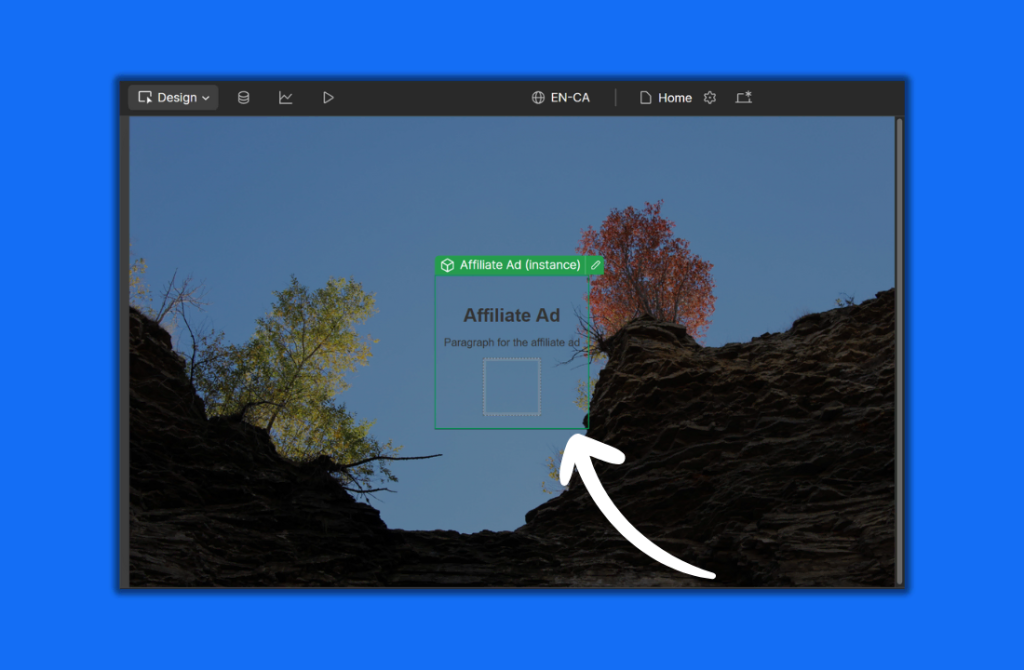
Your component should immediately appear after it is dropped in the Page Slot.
How to setup a Webflow component slot
Setting up a Component slot in Webflow requires Designer access and typically at least two Components in your project. One component will work, but for most use cases you’ll want to add a unique component into your component slot.
Step 1 – Add a component slot into your component
While editing a component (not an instance), find the Slot element inside the Add Elements menu – it’s located under the Structure heading.
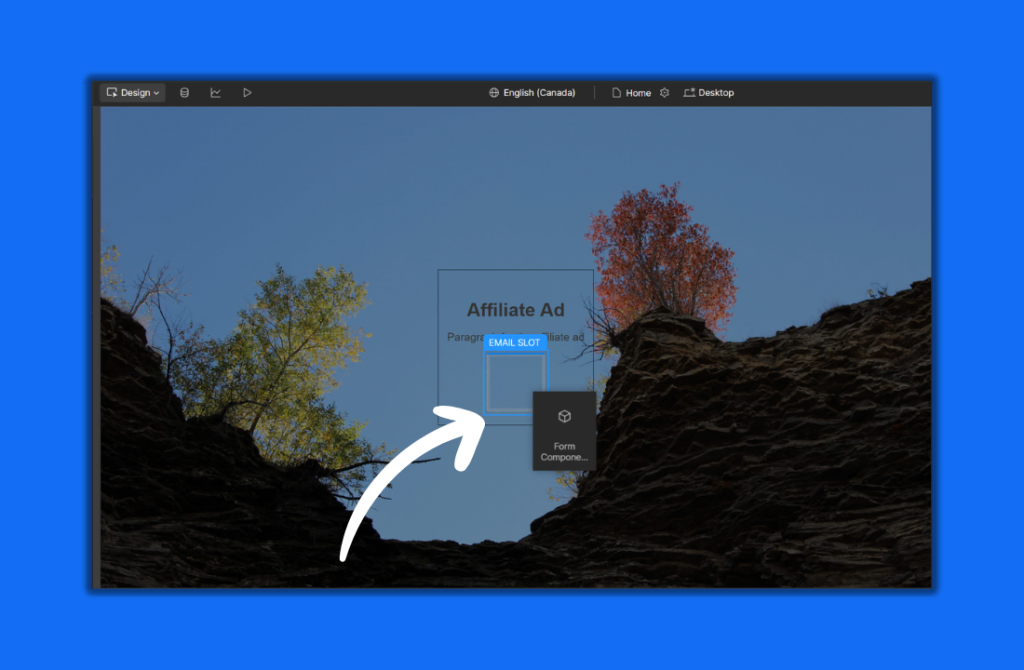
Once you drop your component slot into your component, you’ll be presented with the opportunity to name the slot. This is optional, but is a good idea for organization if you’re going to have multiple slots. In our example, I’ll name my component slot “Email Slot.”

From the Designer, or Build Mode, open up the Components Menu.
Reminder: Component slots can only be filled with Webflow Components.
Step 2 – Fill the component slot with content
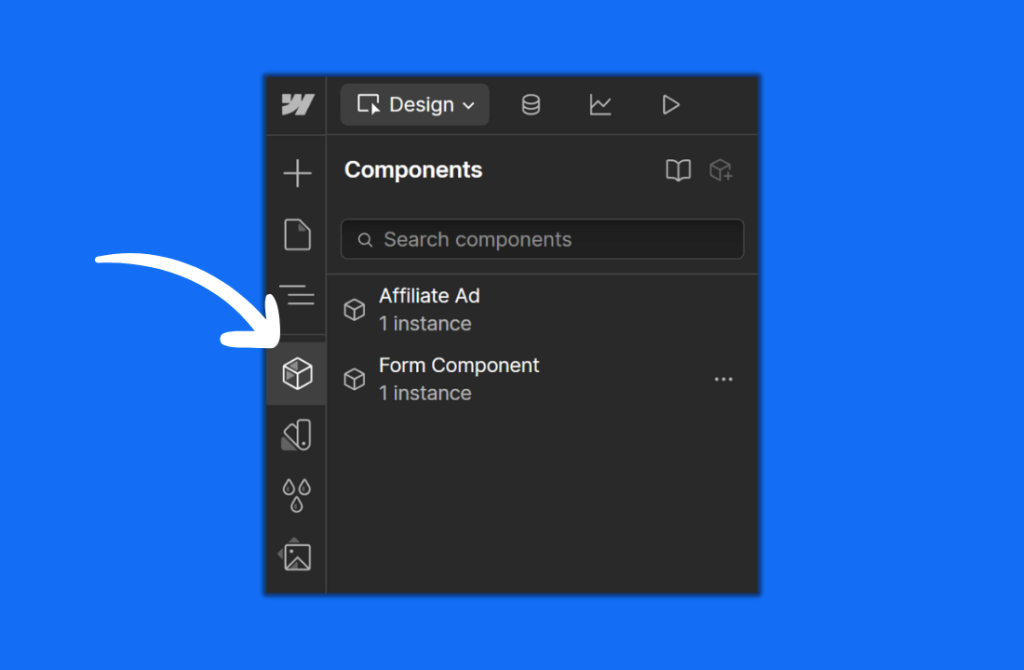
You should see a list of Components that you can scroll or search through as needed. In our example, we have an Affiliate Ad Component and a Form Component.

Click and drag the component you’d like to add into your component slot on top of the component slot.
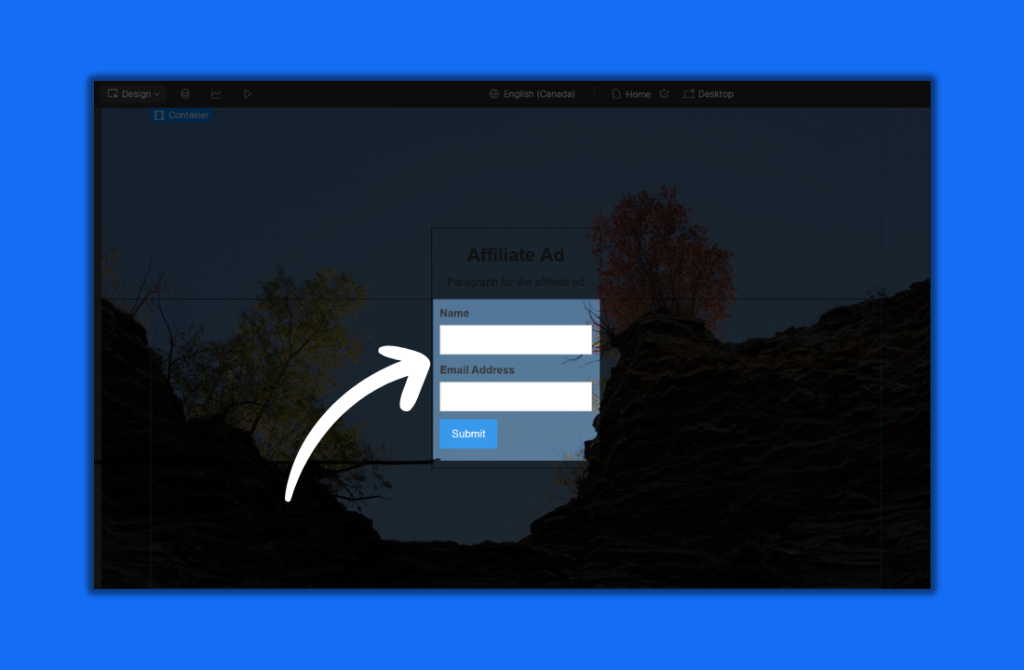
Your component should immediately appear in your component slot once it’s dropped.
Webflow Page Slot Examples
Example 1 – Seasonal Navbar
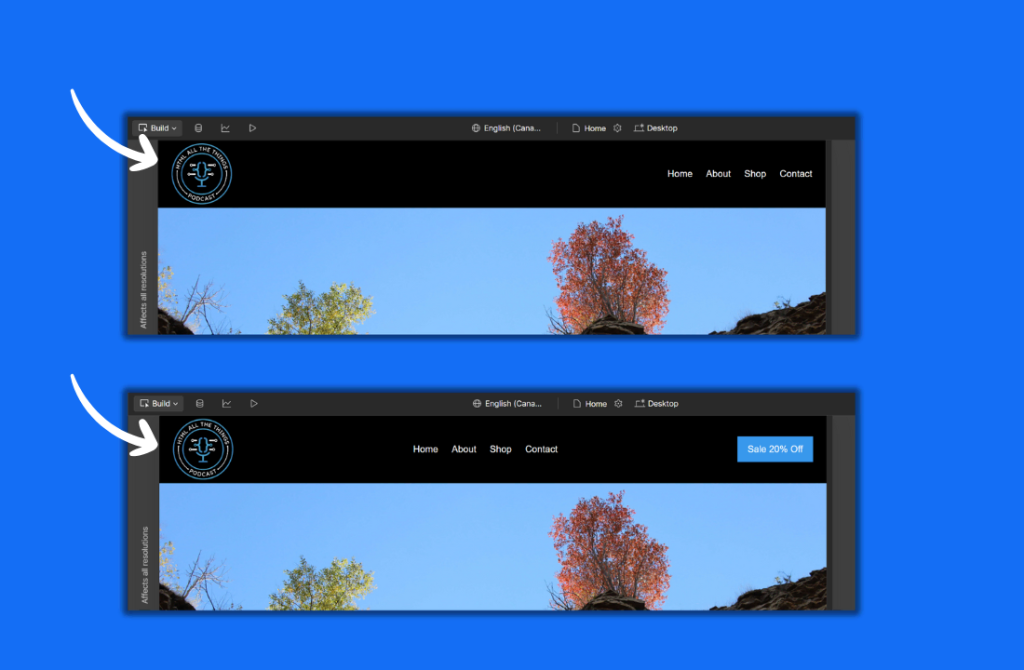
Use Case: If your website offers sales on a seasonal basis, you may want to advertise that the sale is active on your navbar. Page slots can be used so that different versions of your navbar can be easily swapped out.
Example: In this example, we’ve created two different navbars – one with a sale button and one without. We’ve made them both into individual components and we’ve placed a page slot at the top of the page, where the navbar will live.
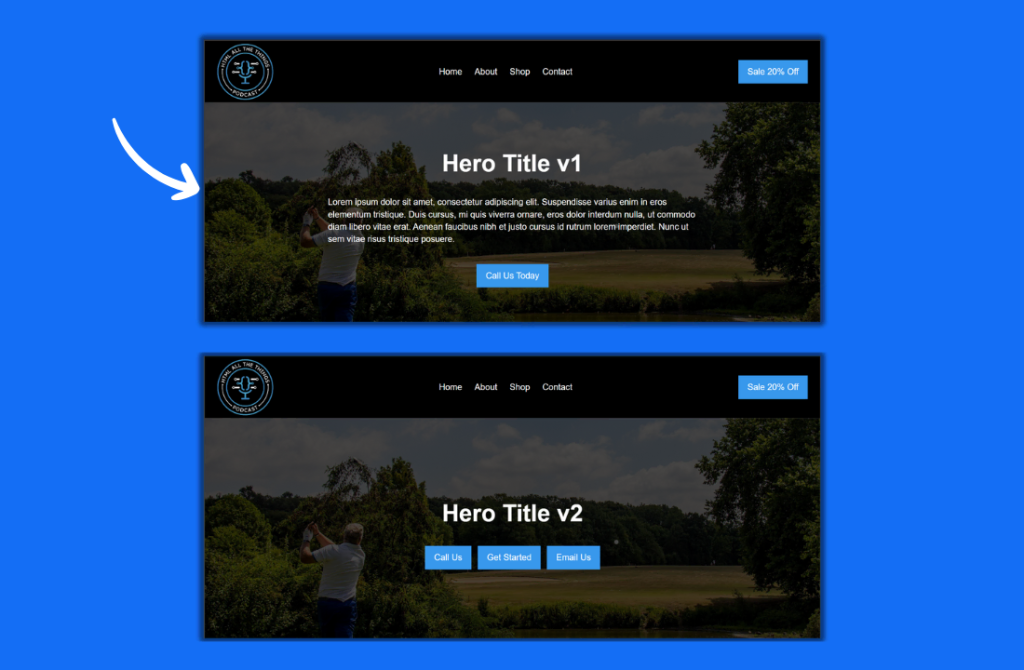
Example 2 – Hero Section with Dynamic Content
Use Case: Hero sections come in all shapes and sizes, and are therefore a perfect example of where to use page slots. On your page if you place a page slot in lieu of a static hero section and then create a collection of varying hero section components, you can then drag and drop them into the page slot.
Example: In this example we’ve created two hero sections.
Webflow Component Slot Examples
Example 1 – Customizable Content Boxes
Use Case: Content boxes typically display information to users and/or lead them to other pages on the site (ie a list of blog posts). There’s typically multiple instances of content boxes scattered throughout a single site, so making them a component makes a lot of sense. However, sometimes you need your content box to have different contents (ie sometimes there’s a CTA, other times there’s just written information), when this happens, you can make them customizable through the use of component slots to help empower your site editors.
Example: In this example, we’ve swapped between two components (category & read more) inside of our content box component.

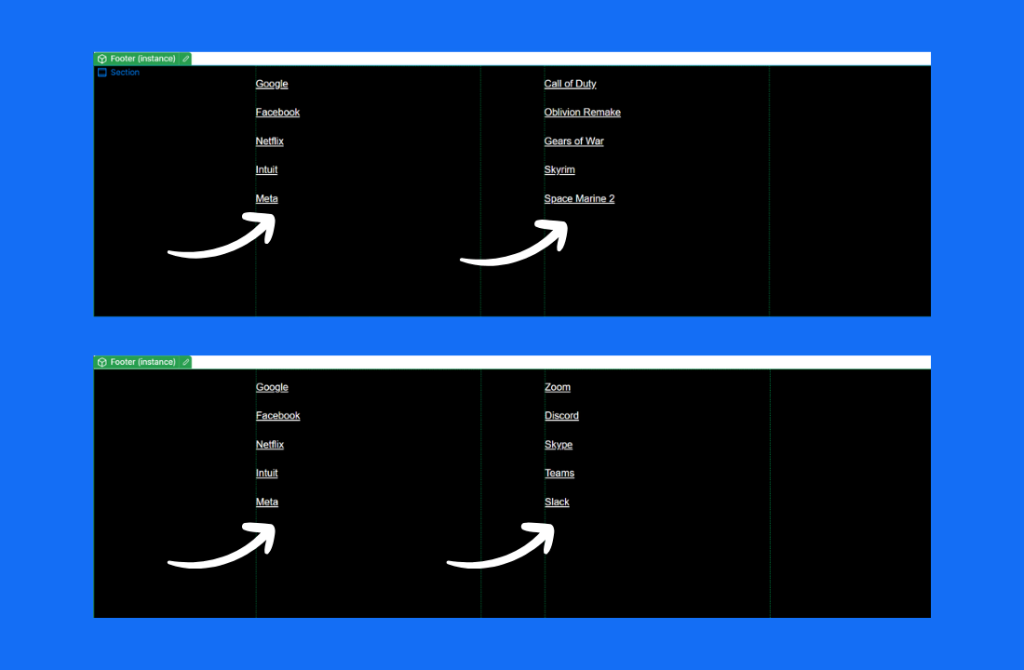
Example 2 – Flexible Footer Links
Use Case: Footers are commonly turned into components in Webflow so that you can easily place them on multiple pages. However, sometimes you want the links within your footer to be different on a particular page. To handle this, you can place a component slot where you’d normally place your links and then click and drag various link components as needed.
Example: In this example, we’ve made three different sets of links into individual components. Then slotted them into our footer component
FAQ
Does Webflow have components?
Yes, Webflow does have components – they are reusable elements that can be used throughout a project to speed up the development process. A common example of a component is a site’s navbar.
What is the shortcut for add component in Webflow?
To add a component in Webflow you can use the keyboard shortcut Ctrl + Shift + A in Windows and Command + Shift + A on Mac.
What are Webflow component properties?
Webflow Component Properties are fill-in-the-blank fields set up in the Designer to allow those in Build Mode to modify specific content inside a Component. For example, there are fields for text, images, and conditional visibility.
How to make an instance in Webflow?
To create an instance in Webflow, place the component of your choice at any desired location(s) in your project. Any spot a component is placed is referred to as an instance.
How do I change components in Webflow?
Webflow components can be changed by modifying properties (props), adding/removing components from Component slots, or changing the component itself (Designer access required).
Properties are fields (ie image field, text field) that users in Build Mode can use to modify the content inside a Component. These
Adding and removing components can be completed in Build Mode if a component has component slots.
Changing the component itself is typically up to a project’s developer, specifically the person(s) that have Designer access. Components are built the same way that virtually every other visual element is made in Webflow and therefore can be created and modified in almost any way.